
Whenever you use plasterboards as the finished surface of a wall (when no plaster is going to be applied over the top) you need to seal and disguise the tapered joints where the boards meet. This applies to plasterboard fixed using the dot and dab method, or when the boards are affixed to a stud frame.
To cover the joints between the plasterboards, you should use jointing tape and joint compound. If this is not applied properly, you can be left with obvious seams in the wall surface.
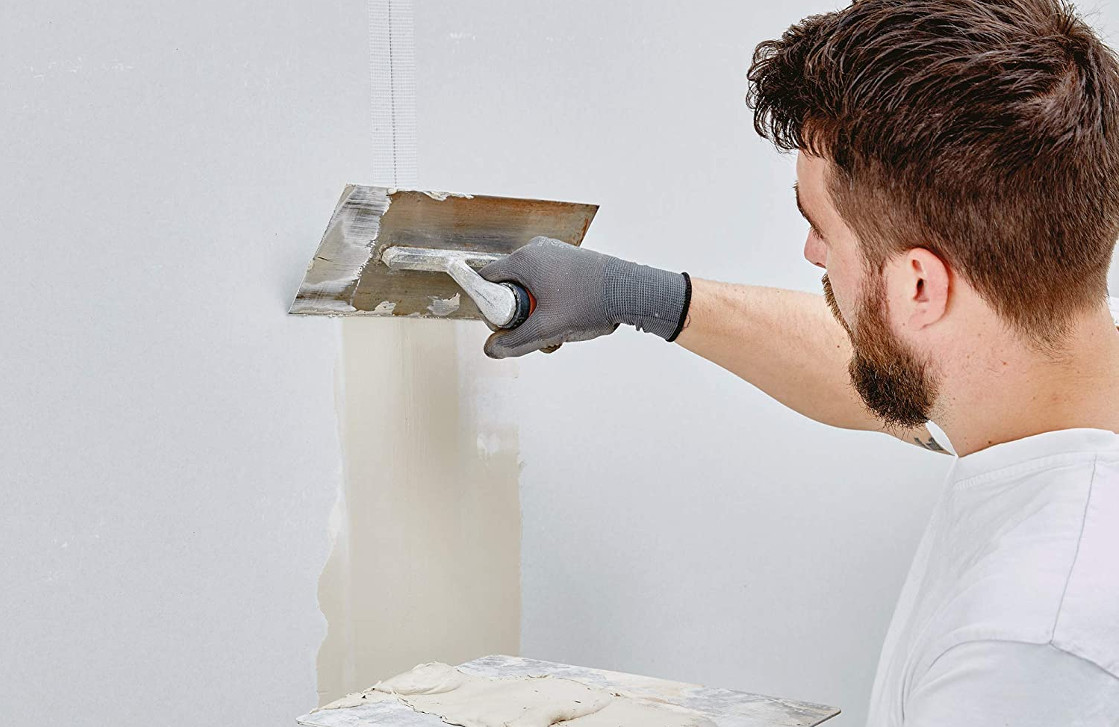
How to Apply Joint Compound
Step 1 – Spread a thin layer of joint compound all the way down the first joint between the plasterboards. Try to keep it within the shallow V formed by the tapered edges of the boards. With the joint compound still wet, press the jointing tape into it all the way down the joint. Allow this to dry completely.
Step 2 – When the first layer is dry, apply another thin layer of joint compound over the jointing tape. Use a wide-bladed jointing knife to do this. At this point, the jointing compound should still be below the surface of the surrounding plasterboards. Leave this second layer to dry completely as before.
Try Everbuild EuroScrim Self-Adhesive Scrim Tape for a smooth and reliable finish.
Step 3 – Apply a third layer of jointing compound, spreading the edges of this strip slightly past the edge of the previous layer. If the surface of the joint is still below the surface of the surrounding plasterboards, let it dry and repeat a fourth time.
Step 4 – When the final layer is almost dry, use a dampened jointing sponge to smooth it out along the entire length of the joint. Let the compound finish drying. You should be able to run your fingers over the joint and not feel a difference in the surface of the wall.
Step 5 – Repeat this process for each joint in the wall. When everything is smooth and dry, paint the entire wall with board sealant so that it is ready to be decorated.


