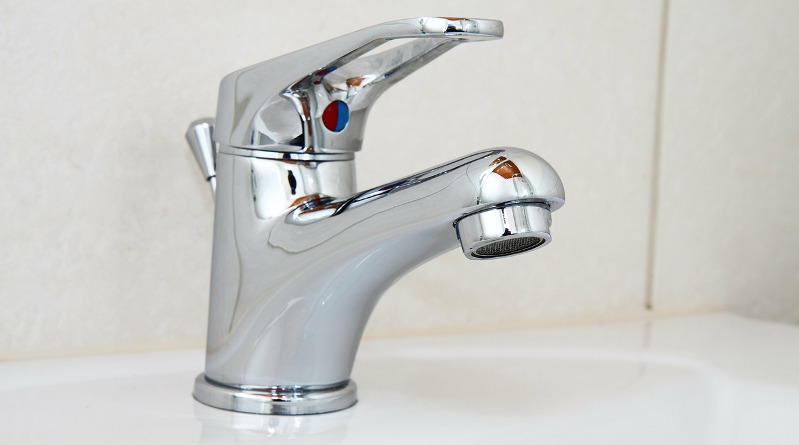
A leaking or dripping tap is a very common problem, but whilst a leaking cold tap is not much more than a nuisance, a leaking hot tap can cost you money. Fixing a leaking or dripping tap is a fairly straightforward project, as long as you know which type of tap you have and the probable cause of the leak.
Common Problems With Taps
The weak point in any rising spindle or non-rising taps is the washer. A sure sign that the washer needs replacing is water leaking from the spout. You can buy a specific hot or cold replacement washer, or a universal washer, for a few pence. If the water is leaking from top of the tap head when you turn it on, the O-ring or gland packing is at fault. Both jobs are very easy.
Taps fall into three main design categories, wall mounted taps are known as Bib Taps, those mounted directly onto the sink, basin, or bath are called Pillar Taps, and finally, there are Mixer Taps, which have a hot and cold valve linked to a single spout. By law, mains and stored water (hot water from your storage tank) cannot be mixed in a system. This means that all sinks have separate pipes to isolate hot from the cold.
Traditionally, almost all taps used the Pillar design. These work by having a Rubber or Nylon (or leather) washer on a threaded pillar inside the body of the tap. When the tap was closed, the washer would sit on top of the water supply pipe. As the tap is unscrewed the whole pillar unscrews and rises with the washer, allowing the water to pass into the spout. Modern taps most often use a non-rising head. This means that while they work in almost the same way, the threaded pillar and washer rise without turning, reducing wear on the washer. The washers themselves have also evolved, with many modern taps (usually the more expensive brands) using precision ground ceramic discs. These have the advantage of very little wear and also do not suffer from limescale build-up.
Repairing Bib and Pillar Taps
Firstly, put the plug in the sink or bathtub you are working on and lay a towel in the bottom of it. If you drop any small screws or nuts, they then won’t be lost in the waste pipe. Now turn off the water supply (usually a small screw on the pipe below the tap) and drain the head of the pipe.
Once no more water comes out, open the tap as far as possible. If your tap is an old pillar style, unscrew the shroud (the dome at the top) by hand to reveal the Head Gear Nut. Carefully unscrew this and lift the whole mechanism out. The washer is located at the bottom of the Head Gear. Check the washer to see if it corroded or split. If it is, remove and replace it. Then carefully reassemble the tap and turn the water back on. If the washer looks sound, check the Seat (the bit inside the body of the tap that the washer would sit on). If there are grooves in the Seat, you can buy Seat Grinders to smooth them out. These are a fairly cheap and useful tools to have in your DIY kit.
Repairing a Reverse Pressure Tap
Reverse pressure taps are upside down when compared to normal pillar taps. The washer is screwed upwards onto the seat rather than downwards. Reverse Pressure taps have an integral check valve inside, meaning you don’t have to turn off the water supply before attempting repairs.
Loosen the nut at the top of the body of the tap and then unscrew the body itself by turning the tap as if you were turning it on. Some water will leak out until the check valve starts to work. Once you have the body out, the washer can be found at the bottom. Prise it off and replace it. Now carefully reverse the steps to put the tap back together.
Repairing a Leaking Gland (O Ring)
If your tap is leaking from the top of the shroud, it is most likely a problem with the Gland or O-Ring. When a spindle tap is opened, the spindle rises through the gland (also sometimes called a Stuffing Box). To stop water leaking out, a nut inside the body of the tap forces waterproof material (usually rubber) into the gland to form a watertight barrier.
Make sure the tap is turned fully off and then remove the tap head. The tap head is usually help on with a small screw on the side or underneath the hot/cold cap on top. You can then try sealing the leak by tightening the gland nut. If this doesn’t work, you can try using PTFE tape, twisted into a thread and wrapped around the spindle. Push this down into the gland and then replace the tap head firmly.
You might also like to read our guide on Replacing Ceramic Discs in taps.


