
If you can get your hands on some old wooden railway sleepers, they are an excellent alternative to using bricks or blocks for building retaining walls in your garden. You can use them for landscaping, creating raised beds, enclosing a seating area, or almost anywhere you might use masonry for a garden wall.
Reasons to Build a Sleeper Retaining Wall:
- Firstly, using reclaimed sleepers will often be cheaper than buying new bricks. But bear in mind that they might need to be cleaned and sanded before use.
- Building a sleeper wall is also often faster and easier than using bricks, even though the sleepers can be heavy (you may need an extra pair of helping hands to move them into place).
- Because they are heavily impregnated with preservatives, they can also last for a very long time.
- The final reason to use sleepers rather than bricks or blocks is that they look really nice in the garden, giving a much more natural finish.
How to Build a Garden Wall with Sleepers
Before you start: Sleepers are heavy, and as such can hold back a good amount of soil. However, if the wall is straight with no corners, you should think about adding some additional support at the ends. This could be a post sunk into the ground at the end and then bolted to the end of the sleeper wall or reinforcing rods hammered down through holes drilled through the sleepers. As a rule, a retaining wall made from wooden sleepers should not be higher than about 500-600mm.
Step 1 – Marking Out
Measure and mark out the area and dimensions of your planned wall or raised bed. Sleepers can be difficult to cut, so if possible try to work out a size that requires the fewest cuts. Clear any surface vegetation from within the marked area. If the area is not level, remove the topsoil where the sleepers will sit to make it level. You can also lay a bed of sand for the sleepers to sit on to help to keep them level.
If the sleepers will form a retaining wall, remove soil immediately behind the area it will be laid. You don’t want soil pushing against the back of the sleeper wall as you build it, as this will make your job harder and could even be dangerous. You can infill the gap when the sleeper wall is complete and stable.
Step 2 – Laying the First Row
Lay out the first layer of sleepers to create a base for the wall or planting bed. On this bottom layer, leave 1-2cm gaps between the ends of each sleeper to allow excess water to drain away more quickly. Make sure the sleepers on the bottom layer are sitting flat on the ground, with no movement when you press on the end of them. Add or remove sand in any areas that are raised or dipped.

If you are going to support the wall with a metal reinforcing rod, measure, mark, and drill a suitable-sized hole now. You can buy drill bits long enough to go through several sleepers, but they are expensive and you will need a powerful drill. It is easier, with a bit of careful measurement, to drill the holes as you lay each course of sleepers.
Step 3 – Laying the Second Row
Just as when laying bricks or blocks, the second row of sleepers should overlap the joints in the bottom row. Ensure that the joints in the adjoining rows do not line up or you will create a weak point in the wall.
Depending on the thickness of the sleepers you might be able to drive 15cm (6in) nails down through the sleepers of the second row to help hold them in place. If the sleepers are too thick for this, drive 15cm nails at an angle into the joints where the sleepers meet to add strength.
Tip: You can also use large metal staples driven across the joint to improve strength.
Step 4 – Finishing the Wall
Continue to lay rows of sleepers in this way until the retaining wall reaches the required height. As with all the other rows, fix the top row by driving nails through the joints or directly down through the sleepers. You can now fill the area inside the retaining wall or raised bed with topsoil and compost. Unlike when working with bricks or blocks, there is no need to wait for mortar to set or the wall to dry.
Preserving the Wood in a Retaining Wall
Although reclaimed railway sleepers can last up to 25 years when used as a material for building a retaining wall, they will never last as long as a good wall built with bricks, blocks or stone. Reclaimed sleepers might already be treated with a preservative, but it is still a good idea to paint them with a new coat. New, imitation sleepers should always be painted with a preservative before being used.
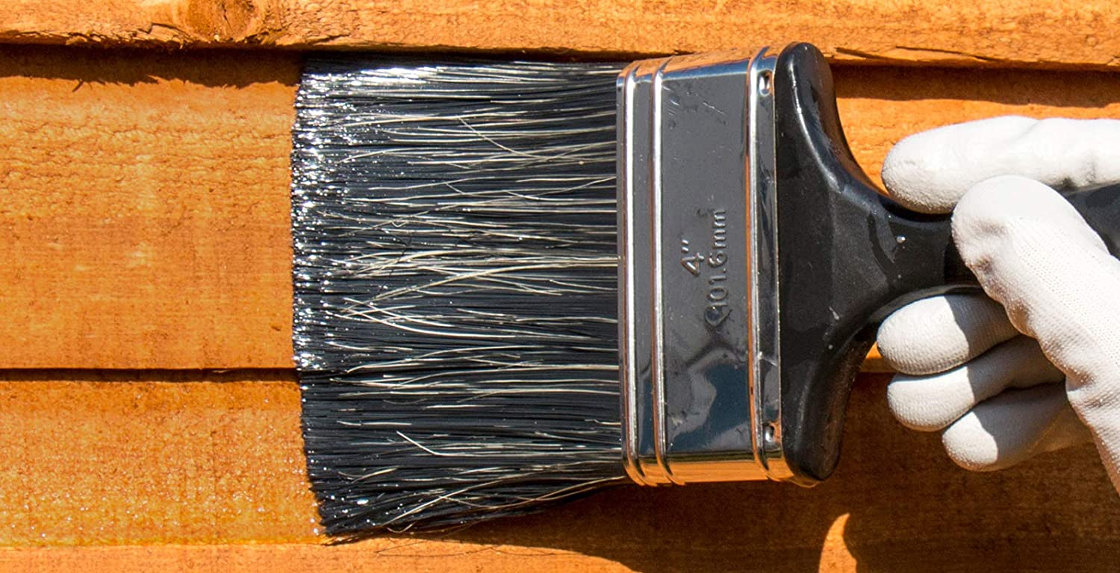
You can help to keep the timber in good condition by painting the accessible faces with a wood preservative regularly, but unless you empty the soil out, there is no way to preserve the inner face of the wall properly. It is therefore important to give the inside face a very good coat before the soil is added.


