
Are you tired of staring at the same old, drab kitchen walls every day? Do you dream of a stunning backsplash that will elevate your cooking space to new heights? If so, you’ve come to the right place. Tiling your kitchen wall may seem like a daunting task, but with the right guidance and tools, you can achieve a flawless finish that will transform your entire home.
In this guide, we’ll share our top tips and tricks for tiling your kitchen wall like a pro. From choosing the right materials to preparing the surface and mastering the art of grouting, we’ll cover everything you need to know to bring your design vision to life. So grab your trowel and let’s get started!
Types of Tiles for Kitchen Walls
The first step in tiling your kitchen wall is selecting the right type of tile. There are a variety of options to choose from, each with its own unique style and maintenance requirements.
Ceramic Tiles: These are the most popular type of tiles for kitchen walls. They are made from clay that is heated at high temperatures, resulting in a durable and long-lasting tile. Ceramic tiles come in a wide range of colors, patterns, and sizes, making them a versatile choice for any kitchen.
Porcelain Tiles: Similar to ceramic tiles, porcelain tiles are also made from clay, but they are fired at higher temperatures, making them more durable and less porous than ceramic tiles. They are available in a variety of finishes, from high gloss to matte, and are an excellent choice for high-traffic areas of the kitchen.
Glass Tiles: If you’re looking for a sleek and modern look, glass tiles are a great option. They are easy to clean and maintain, and their reflective qualities can make a small kitchen feel more spacious.
Stone Tiles: Stone tiles, such as marble, granite, and slate, offer a natural and rustic look to your kitchen. They require more maintenance than other types of tiles, but their unique patterns and textures can add a lot of character to your space.
Tools and Materials for Tiling Your Kitchen Wall
Before you start tiling your kitchen wall, it’s important to gather all of the necessary tools and materials. Here’s a list of what you’ll need:
Tools:
- Measuring tape
- Chalk line
- Level
- Trowel
- Tile cutter or wet saw
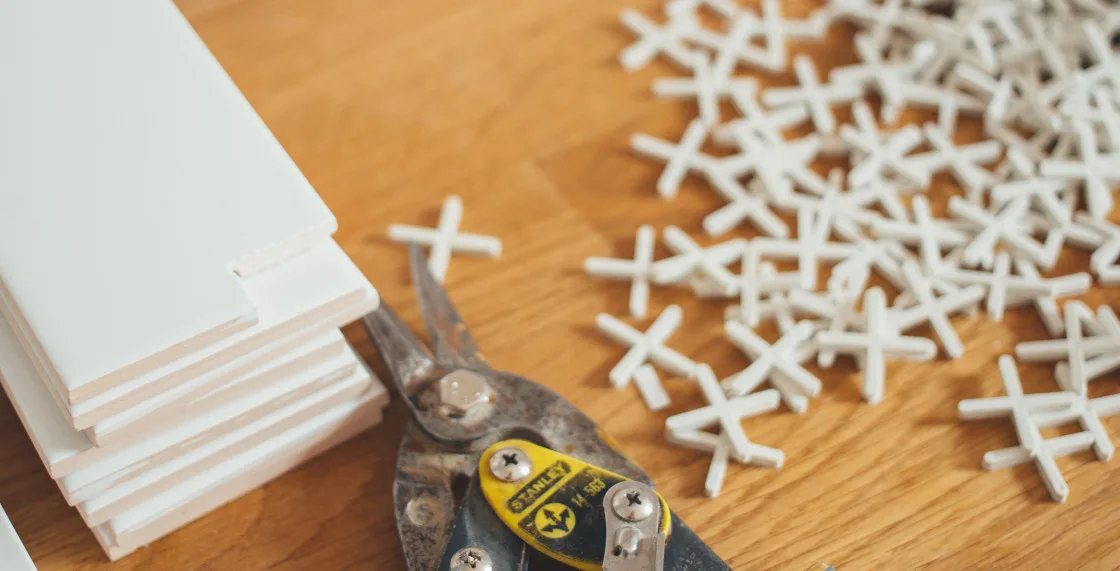
- Tile spacers
- Grout float
- Rubber grout float
- Tile nippers
- Sponge
- Caulk gun
Materials:
- Tiles
- Tile adhesive
- Grout
- Caulk
- Sealer (if using natural stone tiles)
It’s important to invest in high-quality tools and materials to ensure a professional-looking finish. Don’t skimp on these items, as they will make the job much easier and more efficient.
Preparation Before Tiling – Cleaning, Measuring, and Marking
Once you have all of your tools and materials, it’s time to prepare the surface for tiling. This involves cleaning the walls, measuring and marking the area, and applying a primer if necessary.
Cleaning: Before you begin tiling, it’s essential to clean the wall surface thoroughly. Remove any dust, dirt, or grease by wiping the walls down with a damp cloth and allowing them to dry completely.
Measuring and marking: Use a measuring tape, level, and chalk line to mark the area where you will be tiling. Start at the center of the wall and work your way outwards, using spacers to ensure even spacing between the tiles.
Primer: If you are tiling over a painted or wallpapered surface, it’s a good idea to apply a primer to help the adhesive adhere better to the wall. Follow the manufacturer’s instructions for the specific primer you are using.
Tiling Tips for a Flawless Finish
Now that the surface is prepared, it’s time to start tiling! Here are some tips for achieving a flawless finish:
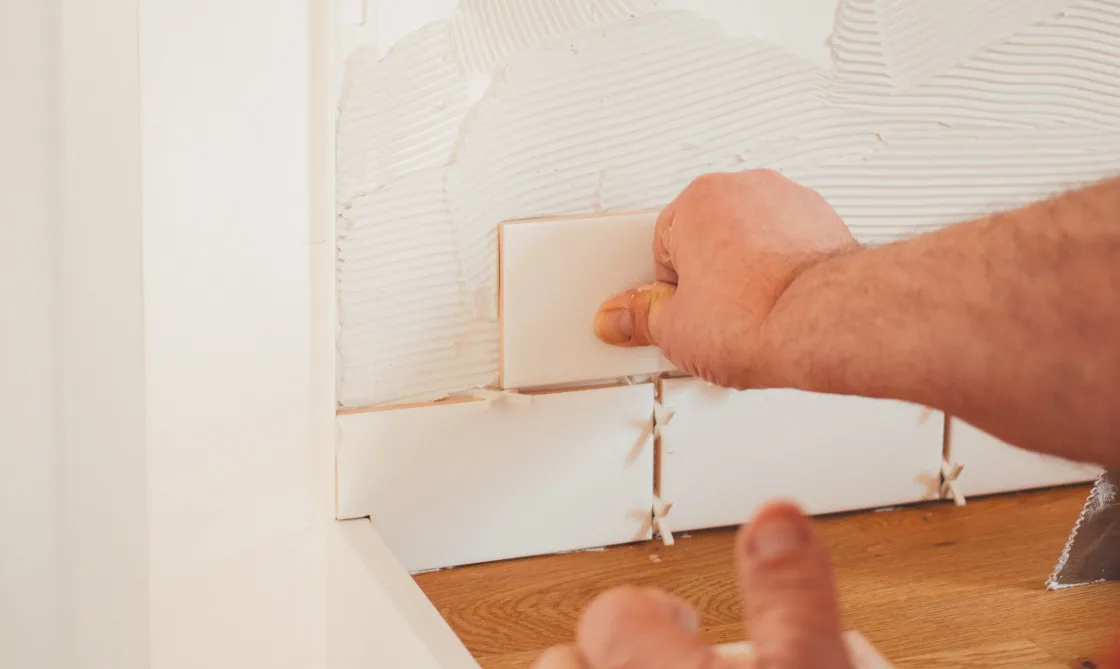
1. Spread the adhesive evenly
Use a trowel to spread the adhesive onto the wall, making sure to cover the entire area where you will be placing tiles. Use the notched side of the trowel to create ridges in the adhesive, which will help the tiles adhere better.
2. Place the tiles
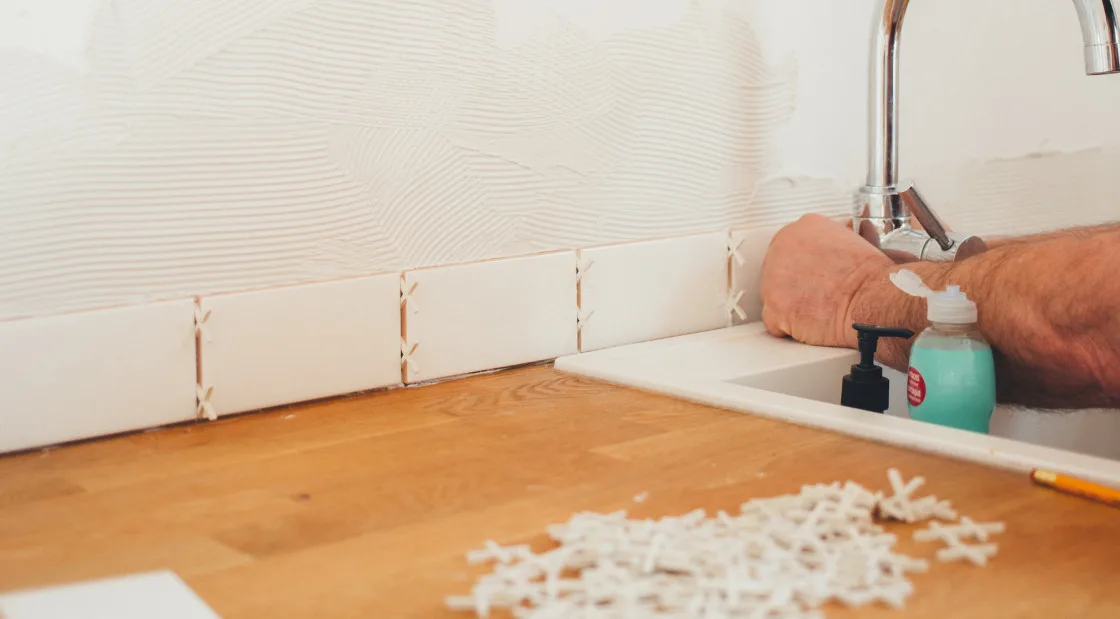
Start at the center of the wall and work your way outwards, using spacers to ensure even spacing between the tiles. Press each tile firmly into the adhesive, making sure it is level and flush with the adjacent tiles.
3. Cut tiles to fit around obstacles
Use a tile cutter or wet saw to cut tiles to fit around obstacles such as electrical outlets, cabinets, and windows. Measure carefully and make small cuts to ensure a precise fit.
4. Allow the adhesive to dry
Once all of the tiles are in place, allow the adhesive to dry completely before moving on to grouting. This can take anywhere from 24 to 48 hours, depending on the type of adhesive you are using.
For a more detailed explanation, check out our complete guide to tiling walls like a pro.
Grouting and Sealing Your Tiled Kitchen Wall
Once the adhesive is dry, it’s time to grout the tiles. Grout is a cement-based material that fills in the gaps between the tiles, providing a finished look and protecting the edges from chipping.
1. Mix the grout
Follow the manufacturer’s instructions for mixing the grout. Use a rubber grout float to apply the grout to the tiles, working in small sections at a time.
2. Clean off excess grout
Use a sponge and clean water to wipe away any excess grout from the tiles. Make sure to rinse the sponge frequently to avoid spreading grout around.
3. Seal the grout (if necessary)
If you are using natural stone tiles, it’s important to seal the grout to protect it from staining and moisture damage. Follow the manufacturer’s instructions for the specific sealer you are using.
Common Mistakes to Avoid When Tiling Your Kitchen Wall
Tiling your kitchen wall can be a fun and rewarding project, but it’s important to avoid some common mistakes that can lead to a less-than-perfect finish. Here are a few to watch out for:
1. Inconsistent spacing
Make sure to use tile spacers to ensure even spacing between the tiles. Inconsistent spacing can make the finished product look unprofessional.
2. Incorrect adhesive application
Make sure to apply the adhesive evenly and use the notched side of the trowel to create ridges in the adhesive. This will help the tiles adhere better.
3. Uneven tiles
Use a level to ensure that each tile is level and flush with the adjacent tiles. Uneven tiles can cause problems with grouting and make the finished product look unprofessional.
Conclusion and final tips for a successful tiling project
Tiling your kitchen wall can be a fun and rewarding project, and with the right tools and guidance, you can achieve a flawless finish that will transform your entire home. Remember to choose the right type of tile for your space, gather all of the necessary tools and materials, and prepare the surface properly before tiling. Use our tips for tiling techniques, grouting, and maintenance to ensure a professional-looking finish. And finally, avoid common mistakes by using tile spacers, applying the adhesive evenly, and ensuring that each tile is level and flush with the adjacent tiles. Happy tiling!


