
Gaps can appear around any type of window frame, on a house of any age. They may be caused by the natural settling of the house cracking existing mortar or just by bad workmanship when the window was fitted. In either case, gaps around a window frame are not good and can lead to dampness penetrating the internal walls, window frames, and beyond. Once damp penetrates, the gaps will usually get worse which, in turn, allows more dampness to penetrate.
Filling the gaps around a window frame is usually a fairly quick and simple task, so there is no reason to put it off. As a general rule, always use the same material that has been used around the rest of the frame to previously fill any gaps.
Filling Gaps Around Windows Frames Using Mortar
Exterior gaps wider than about 10 mm should ideally be filled with mortar. You can buy ready-mixed mortar in fairly small bags, which are ideal for jobs like this. Mix up the mortar following the manufacturer’s instructions and then use a stiff brush to clean up any dust and loose material around the gap. Brush or spray the gap with water until the inside is damp.
Using a small trowel, press the mortar into the gap until it is filled. Use the face of the trowel to smooth the mortar flat and level with the surrounding brickwork. You now need to allow the mortar to dry completely. It is a good idea to further seal the window frame with frame sealant.
More DIY Window/Glazing Guides
- Best Way to Cut Glass
- Painting Wooden Window Frames
- Replacing Sash Window Cords
- Draught-proofing Windows and Doors
Filling Gaps Around Windows with Decorators Caulk
If the gap is on the inside of the window, anything up to about 10 mm can be filled with Decorators Caulk. Decorator’s Caulk is fast drying and slightly flexible, making it perfect for filling smaller gaps around window frames where seasonal expansion is possible. This is particularly useful for sealing gaps around wooden or metal window frames. In most cases, the caulk can be painted over within an hour.
Decorator’s Caulk, which is more commonly used to seal around baths, showers, and other fixtures where water is an issue, is usually applied from a tube in a caulking gun. You can also buy it quite cheaply in a small squeeze tube if the gap isn’t very big.
Filling Gaps with Frame Sealant
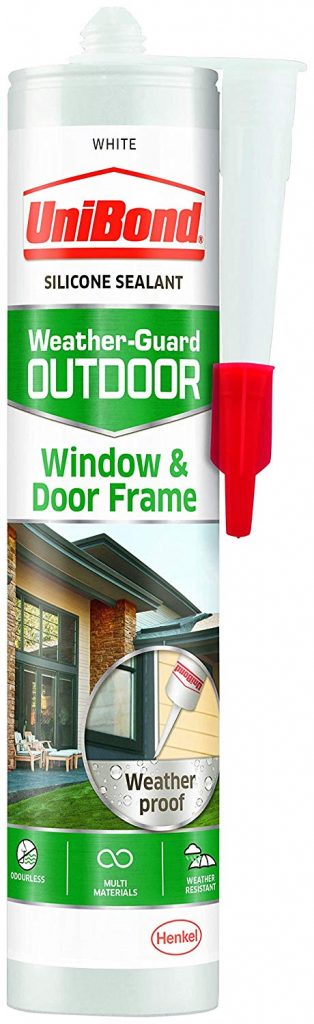 Small gaps around a window frame (less than 10 mm) can be filled using frame sealant. Frame sealant is available in several different colours including white, grey, brown, and transparent, and usually comes in a tube that needs to be fitted into a cartridge gun. You can also buy it in tubes that are applied by turning a screw cap on the bottom if you do not have a cartridge gun.
Cut the nozzle on the tube of frame sealant at an angle and, depending on how wide the gap is, either close to the tip or slightly further back to produce a large bead. Brush all around the frame using a stiff brush and then start to apply the sealant. Aim the nozzle into the gap and try to keep your movements smooth as you work along it.
When using frame sealant, you should apply it all the way around the frame, rather than just where the gap is. If you apply it in a short strip it is more likely to peel away after a short time.
Hopefully, your bead of sealant is smooth and even, but if not, wet your finger and run it along the bead to smooth and flatten it. Let the sealant dry for the recommended time (up to 3 weeks) and you can then paint over it if required. If you are filling cracks with mortar as described above, it is a good idea to further seal the frame with a sealant once the mortar is dry.
Dealing with Large Gaps Around a Window Frame
If you have very large gaps around a window, you can fill them using expanding foam. Expanding foam is perfect for filling large gaps around windows as it allows for a degree of movement without cracking or breaking. It can also provide a good moisture barrier between the brickwork and the window frame.
Carefully inject the foam right into the gap until it fills up and expands well outside of the hole. The foam will expand into all of the cracks and crevices inside the hole and provide a really good seal. When the foam has fully set, you can trim it off, sand it down and even plaster and paint over it.
DIY Tools, Materials and Equipment


