
A weatherboard, or weather bar, is a shaped piece of wood or metal at the bottom of a door (outside) that deflects water.
Because the weatherboard is close to the ground at the bottom of the door, a wooden weatherboard can be susceptible to the effects of water. If they are not treated properly, or not maintained regularly, the wood can rot.
Luckily, a new weatherboard is fairly easy to fit or replace.
Choosing a Weatherboard
Wooden – If you have a wooden door, you have a couple of choices of weatherboard available. You can go for a wooden board, ideally made from the same wood as the door (hardwood or softwood). Hardwood is better, as it will last much longer. But there is no point paying extra for hardwood if your door is made from softwood like pine.
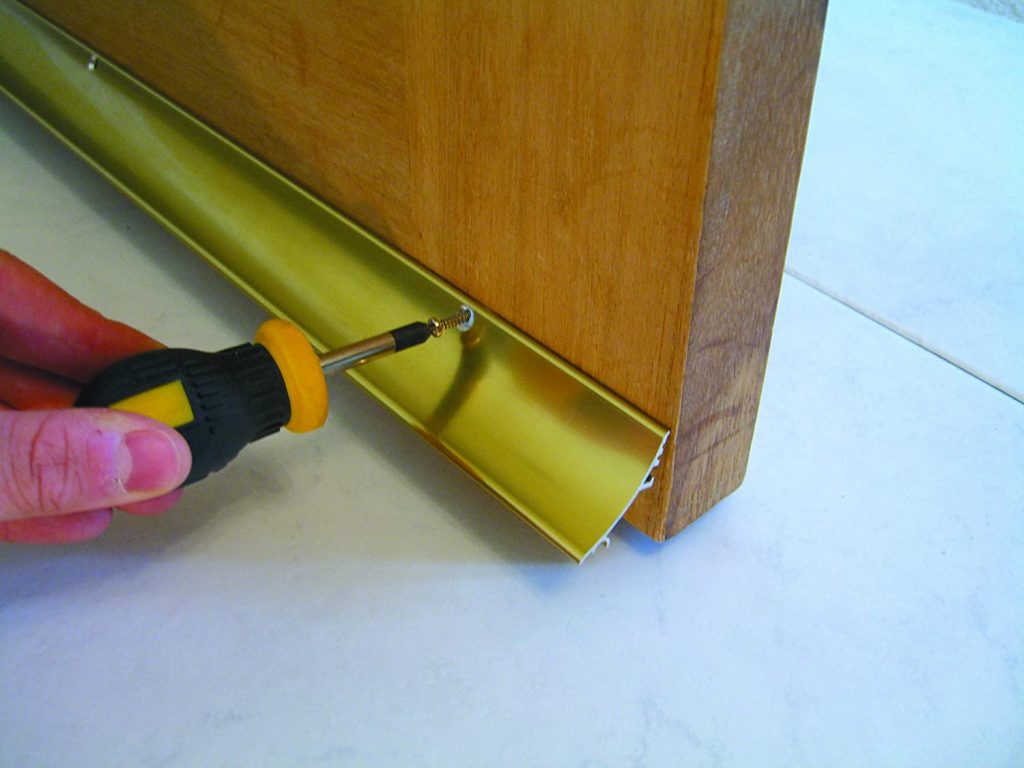
Metal – You can also buy metal weatherboards (often called weather bars if they are metal). These can look good, depending on the style of your door and house. Metal weather bars, which are often made from aluminium, will last much longer than the wooden equivalent.
UPVC – UPVC doors will either have a weather bar already fitted or use another method of sealing out the weather. As UPVC can’t rot, keeping moisture away is not as important as it is with a wooden door. If your UPVC door doesn’t have a weather bar, and you want to fit one to stop water leaking in, you can buy them for aftermarket fitting.
Take a look at our guide to common problems with wooden doors for more tips.
Measuring and Marking the Weatherboard
- With the door closed, measure the gap between the upright stiles of the frame at the bottom of the door. This is where the weatherboard will sit, so your measurements need to be very accurate or the door will not close.
- Cut the weatherboard to the correct size, using the appropriate saw for wood or metal, and hold it in position against the door.
- Make sure that the bottom of the weatherboard lines up with the bottom of the door and then mark its position with a pencil.
Note: If you are using a metal weatherboard, they are often supplied with caps to cover the cut ends. Make sure that you take these into account when you are measuring the length of the weatherboard.
Fitting the Weatherboard
With the measuring and marking done, you can now get ready to fit the weatherboard
- Pre-drill some holes through the narrowest part of the weatherboard (near the top) and countersink them.
- Metal weather bars may have holes pre-drilled along their length.
- It is a good idea to apply a wood preservative to the underside and also the back of the weatherboard now, before attaching it to the door.
- Let the wood preservative dry completely before applying wood adhesive to the back of the wood and screwing the weatherboard into place.
- Check that the door opens smoothly. If not, plane or sand off any corners that catch.
- Fill the screw holes with wood filler and then prime and paint the weatherboard as required.
This Oak Effect Weatherboard is a great example of a hardwood weatherboard. This board should last a very long time.
Fitting or Replacing a Weatherboard
If your exterior door doesn’t have one, or if it needs replacing, fitting a new weatherboard is a straightforward job. With just a drill, tape measure, and a pencil, you can soon make your front door much more weatherproof.


