
Being able to lift one or more wooden floorboards safely and without fear of damaging the floor or anything underneath is a very useful skill for any homeowner. Several DIY jobs might require you to lift one or more floorboards, as well as several possible emergencies. You might need to reach a pipe or cable beneath the floorboard or you might just need to replace a warped or damaged board.
In older houses, the floorboards will normally be straight-edged, and lifting them is generally much easier. But even in houses that use tongue and groove floorboards, there is no reason why you should not do this yourself if you have the correct tools.
Lifting Square-edged Floorboards
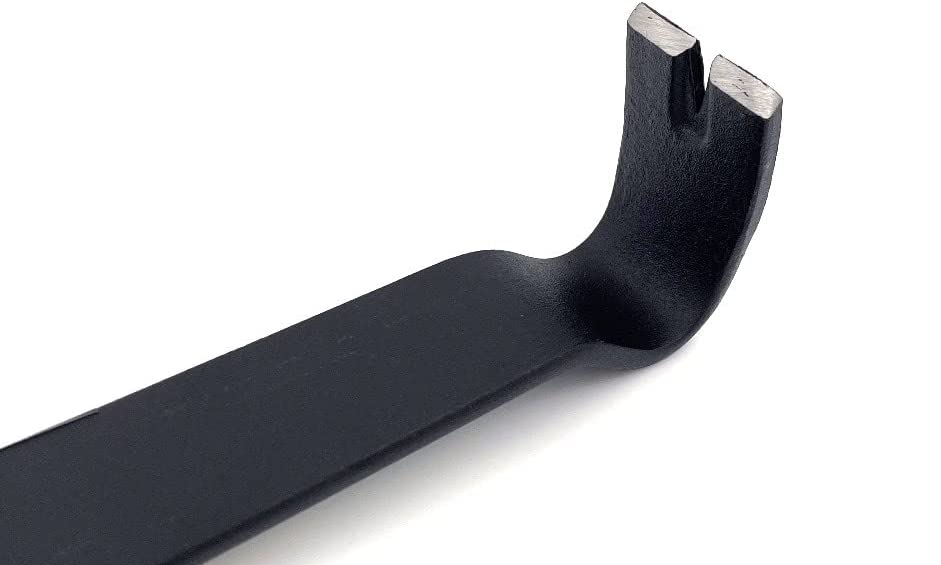
Square-edged floorboards are the easiest to lift, especially in older houses as they will have tended to shrink, leaving gaps on either side. Simply insert a wide-bladed cold chisel or a pry bar into the gap at one end of the floorboard and prise the board gently up until you can insert a claw hammer into the gap. Gradually work along the board prising it up as you go.
If you are having trouble getting the chisel blade into the tight gap at the end of the board, insert it into the gap along the edge, as close to the end as possible. Lever up the end until you can get the chisel into the gap.
If your floorboard extends under the skirting, lift it almost vertically before pulling it out from underneath. In small rooms, you may find that a single floorboard extends all the way across the room, with both ends underneath the skirting. Removing the skirting is often a bigger task than it may at first seem, so the easier solution is to saw through the board.
This must be done directly over a floor joist so that when the cut board is replaced, there is something solid into which the nails can be fixed at the cut ends. Locate a floor joist roughly in the middle of the room and insert a cold chisel or pry bar into the gap at the edge of the board. Lever up the middle of the board and slide a length of batten underneath. Saw through the raised board directly above the joist. You can now lift both sections out.
Lifting Tongue and Groove Floorboards
Removing a tongue and grooved floorboard is slightly more difficult as you will need to saw through the tongue on the least one side. It is best to use a Convex Blade Flooring Saw for this, but a Pad Saw, Tenon Saw or Circular Saw can also be used.
Cut along the full length of one tongue, and then insert a wide-bladed cold chisel into the gap and gently lever the end of the board up. As you raise it up, you should be able to easily slide it out from the groove along the uncut edge.
Get over 16000 woodworking plans. Learn how to build anything from furniture to birdhouses out of wood. Clear and detailed plans that guide you through the process of each project step-by-step.
Safety Tip
When cutting through floorboards make sure there are no cables directly below the cut. If you’re not sure turn off the power at the mains before you start. You also need to remember not to cut into floor joists, as this will weaken them, potentially disastrously.
Using Filler to Repair a Floorboard
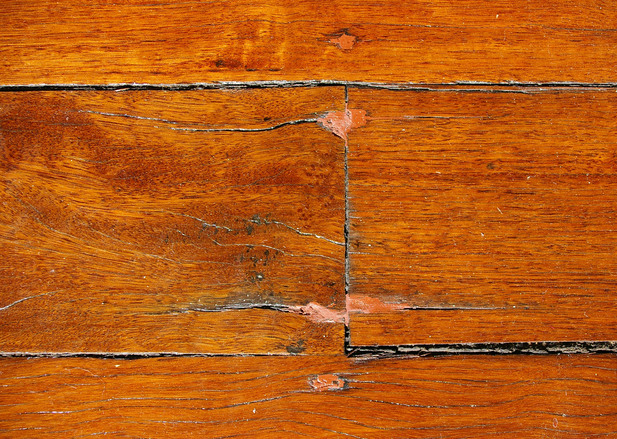
If the damage to the floorboard is minor you can buy filler designed for this use. Try to match the colour to that of your floor and remember that the filler will shrink slightly as it dries. Always allow the filler to dry properly and then sand back any excess. Be aware that if you plan to stain the boards the filler may not match the stained colour of the wood.
Prevention is almost always better than cure, so learning the different ways you can protect solid wood floors might save you future time and effort.


