Pointing and Repointing brickwork is the process of creating a smooth mortar joint, in order to make the wall as sound and weatherproof as possible. Pointing is smoothing the mortar during the construction of the wall, and repointing is making good the mortar of a previously built wall.
This guide looks at both pointing a new wall and repointing an existing wall. There are a few different ways to shape the mortar between the bricks of a wall. The method you choose should be influenced by the type of wall, its location, and whether you need to match the pointing of surrounding brickwork.
Pointing Brickwork
You should decide which pointing method you will be using before you start to build the wall, and then stick to the same style throughout the build. We will assume you already know how to build a brick wall, but if not, you can read our guide. If you are building with blocks instead of bricks, you can choose from the same pointing styles.
Mortar Pointing Styles
The most important joints in brickwork are the horizontal joints, as these are where there is the most potential for water to gather and penetrate the wall. There are three types of pointed joints in brickwork: Flush, Keyed, and Weatherstruck.
- Flush joints are created by over-filling the joints, allowing the mortar to harden slightly, cutting off the excess, and then rubbing it down until it is flush with the surface of the brick.
- Keyed joints can be achieved by pressing a piece of hose pipe, or similar-sized tube, along the joints whilst the mortar is still wet. This creates a smooth, concave joint.
- Weatherstruck Joints are sloped outward at the bottom to allow rainwater to more easily drain off. The joint should look like the brick above is overhanging. Vertical joints are sloped to one side. This style is harder to achieve, but the best to use, especially in areas of high rainfall.
Whichever style you choose, you will need to work on one course of bricks at a time. If you let the mortar harden too much, pointing will become a much more difficult and time-consuming task.
Repointing Brickwork
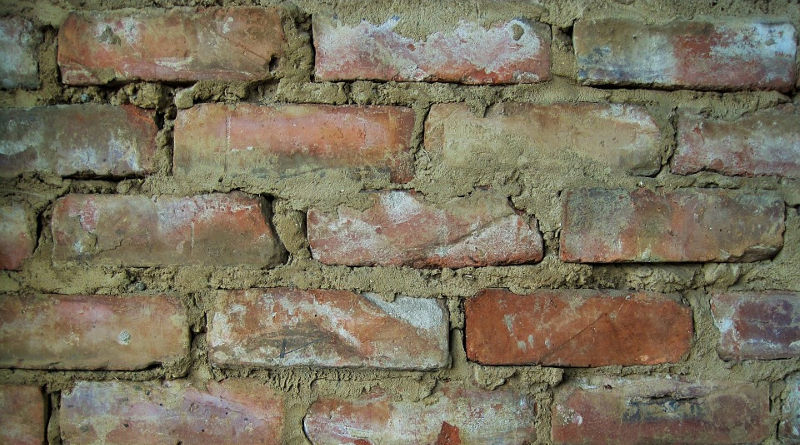
The natural action of wind and rain will cause the mortar between the bricks of your house to loosen, crumble and wear down. This not only looks bad, but can also allow water to penetrate the bricks, causing further problems. Repointing is not a difficult job and you only need a few tools to carry it out. However, if you need to re-point a large area, high up on a wall, it might be worth hiring scaffolding to make things easier.
Preparing the Joints
Use an old screwdriver or cold chisel to scrape out any loose mortar and a hammer and chisel to clear out any remaining pieces. Very loose or crumbly mortar can even be removed using a stiff wire brush.
Take the mortar back by about 10-15 millimetres from the face of the brick, and then use an old paintbrush to remove any dust from the gap. Brush the brickwork and joints with clean water to help stop moisture from being absorbed out of the new mortar too quickly. If you don’t do this, you risk the mortar falling out of the gaps as it sets too quickly.
Repointing the Wall
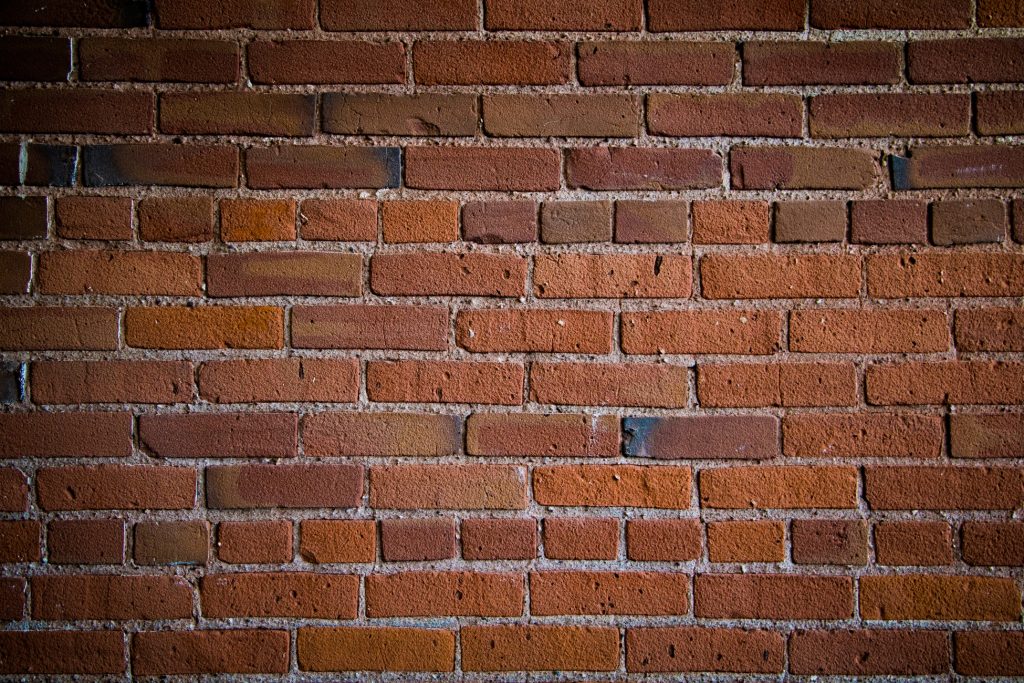
The mortar should form a continuous band around the brick and be angled to allow moisture to run off. There are three types of horizontal joints, flush, keyed, and weatherstruck.
Flush joints are created by filling the joints, allowing them to harden slightly, and then rubbing down until it is flush with the brick.
Keyed joints can be achieved by pressing a piece of hose or similar tube along the joints whilst the mortar is still wet.
Weatherstruck joints are sloped to allow rainwater to drain off. Vertical joints are sloped to one side and horizontal joints are sloped so the brick above overhangs the joint.
1. Mix up your mortar and start to push it firmly into the joints with a pointing trowel. It is best to start with the upright joints and then the horizontal, and to work from top to bottom.
Decide how you want to point the mortar (Flush, Keyed, or Weatherstruck, see above) and complete each row or section of wall as you add the mortar.
2. Once the mortar has set, use an old broom to remove any remaining mortar dust and wash down any stains. Persistent stains can be hidden by rubbing them with an old brick.
If the wall is particularly exposed, or the lack of proper pointing has allowed the bricks to be damaged, it is worth weatherproofing the whole wall once the new mortar has set.
Waterproofing the Wall
To finish the job it is a good idea to coat the bricks with a good masonry water-repellent. This will both prevent water from penetrating the bricks and improve insulation. Remember to only do this once any old and damaged bricks have been replaced and repointed (and the mortar has dried).
Following the manufacturer’s instructions, brush the water-repellent solution liberally onto the wall, making sure that all of the bricks and joints are covered.


