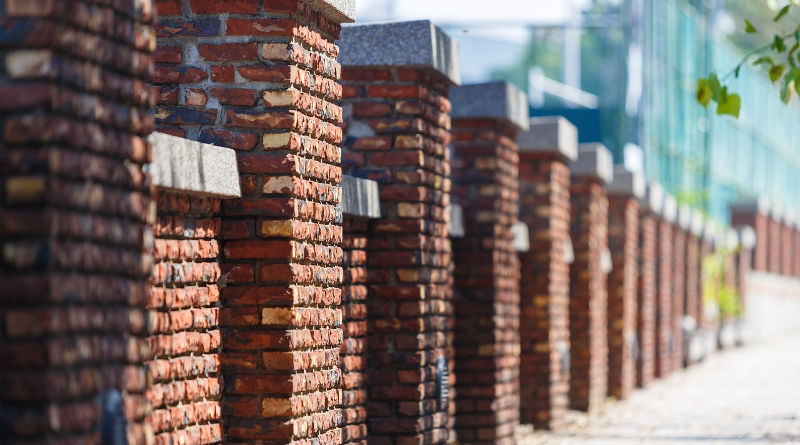
Building a pier into a wall not only looks good but also adds to the structural strength of the wall as a whole, particularly on Half-Brick Walls (walls that are only one brick thick). Half-brick walls are cheaper, quicker, and easier to build than full-brick walls, but suffer from being less stable, increasing the need for both end and intermediate piers.
Luckily, adding piers to a wall is not a difficult task if you follow our simple guidelines.
For more information on building brick walls, take a look at our guide How to Build a Wall, and our essential guide to Laying Strip Foundations for Brick Walls.
End Pier in a Half-brick wall
Adding an end pier to a half-brick wall is very easy to do and only requires one and a half bricks extra for each course. Adding an end pier is the minimum amount of support you should include in a half-brick wall.

At the end of the wall run, lay a single header brick at right angles to the last stretcher brick. Cut another brick in half and lay this in the angle of the stretcher and header bricks to form a square.
For the second course, start by laying two stretcher bricks on the pier and then continue laying along the rest of the course as normal. You now just need to alternate the stretchers and headers for each course of bricks until your wall is at the required height.
Intermediate Pier in a Half-brick wall
If your half-brick wall is longer than about 4 metres, it is a good idea to add an intermediate pier as well as the end piers. Intermediate piers are slightly more difficult to build as they require half bricks and three-quarter bricks to work properly.

When laying the first course, decide where you want your intermediate pier (usually at around two-metre intervals) and replace a stretcher brick with two header bricks projecting to one side (the inside) of the wall.
On the second course, you will need to cut a half brick and two three-quarter bricks for the pier section. The half brick sits centrally on the two headers, whilst the three-quarter bricks sit on each side of the half brick. This avoids the problem of a constant vertical joint at the pier. A stretcher is then used to cover the projecting ends of the two headers.
What Are Stretchers and Headers? – A stretcher brick is one which follows the course of the wall and a header brick is one which lays across the course of the wall. So if looking at the face of a wall, you will see the long side face of stretchers and the end face of headers.
End Pier in a Full-Brick Wall
The process of adding a Pier to a Full-Brick wall is more complicated than for a Half-Brick wall, but with a bit of planning, it is still easy enough to achieve a good finish. This guide assumes that your full-brick wall is being constructed using English Garden Wall bond, the most common construction method for UK garden walls. A wall constructed using English Garden Wall bond comprises three courses of staggered stretchers, followed by one course of headers.
First Course – End the first course of the wall with two three-quarter brick stretchers, followed by three headers. The three-quarter bricks, as you will see, are to avoid a constant vertical joint where the wall meets the pier. Now place two stretchers on either side of these last three headers to form the shape of the pier.
Second Course – The second course starts with two headers spanning the full width of the pier, then lay four stretchers across the middle of the pier, and then finally two more headers. The first stretcher of this second course needs to be a three-quarter brick, then the remainder of the wall course can be full stretchers.
Third and Fourth Course – The third course will be a repeat of the first course. The fourth course (the first course to use headers in English Garden Wall bond) starts with two headers spanning the full width of the pier, then lay four stretchers across the middle of the pier, and then finally two more headers, as with the second course of the pier. The rest of the wall course is made up of headers.
The whole process is then repeated until the wall and pier reach the desired height. If you want the Pier to continue a course or two above the height of the wall, simply repeat the pier courses as described above, trimming the three-quarter bricks as needed.


