
Learn how to fit guttering. With careful maintenance and regular repair, both uPVC and metal guttering should last for many years. If you have inherited badly maintained gutters from the previous homeowner, or if your gutters have somehow been damaged, you may be considering replacing some or all of this important rainwater drainage component.
This guide will walk you through each step of how to fit guttering to the exterior of your house.
Step 1 – Preparation
If you have the old guttering, you can measure this once it has been removed, to give you the total length of the new guttering you need to buy. If there is no guttering at all on the house, measure the length of the fascia boards, onto which the gutter brackets will be attached. If the fascia boards are wooden, this is a good chance to check they are in good condition, and perhaps even give them a coat of exterior-grade paint.
Buy guttering which is approximately the same size as that which it is replacing. The standard size for guttering is 112mm half-round. If you live in a particularly wet area of the country, or if your house has a large roof area, you might consider buying slightly larger-sized guttering to cope with the increased rainfall. Whichever type of guttering you buy (steel, uPVC, aluminium, etc.,) it can be fitted using the method explained here.
Step 2 – Fitting Gutter Brackets
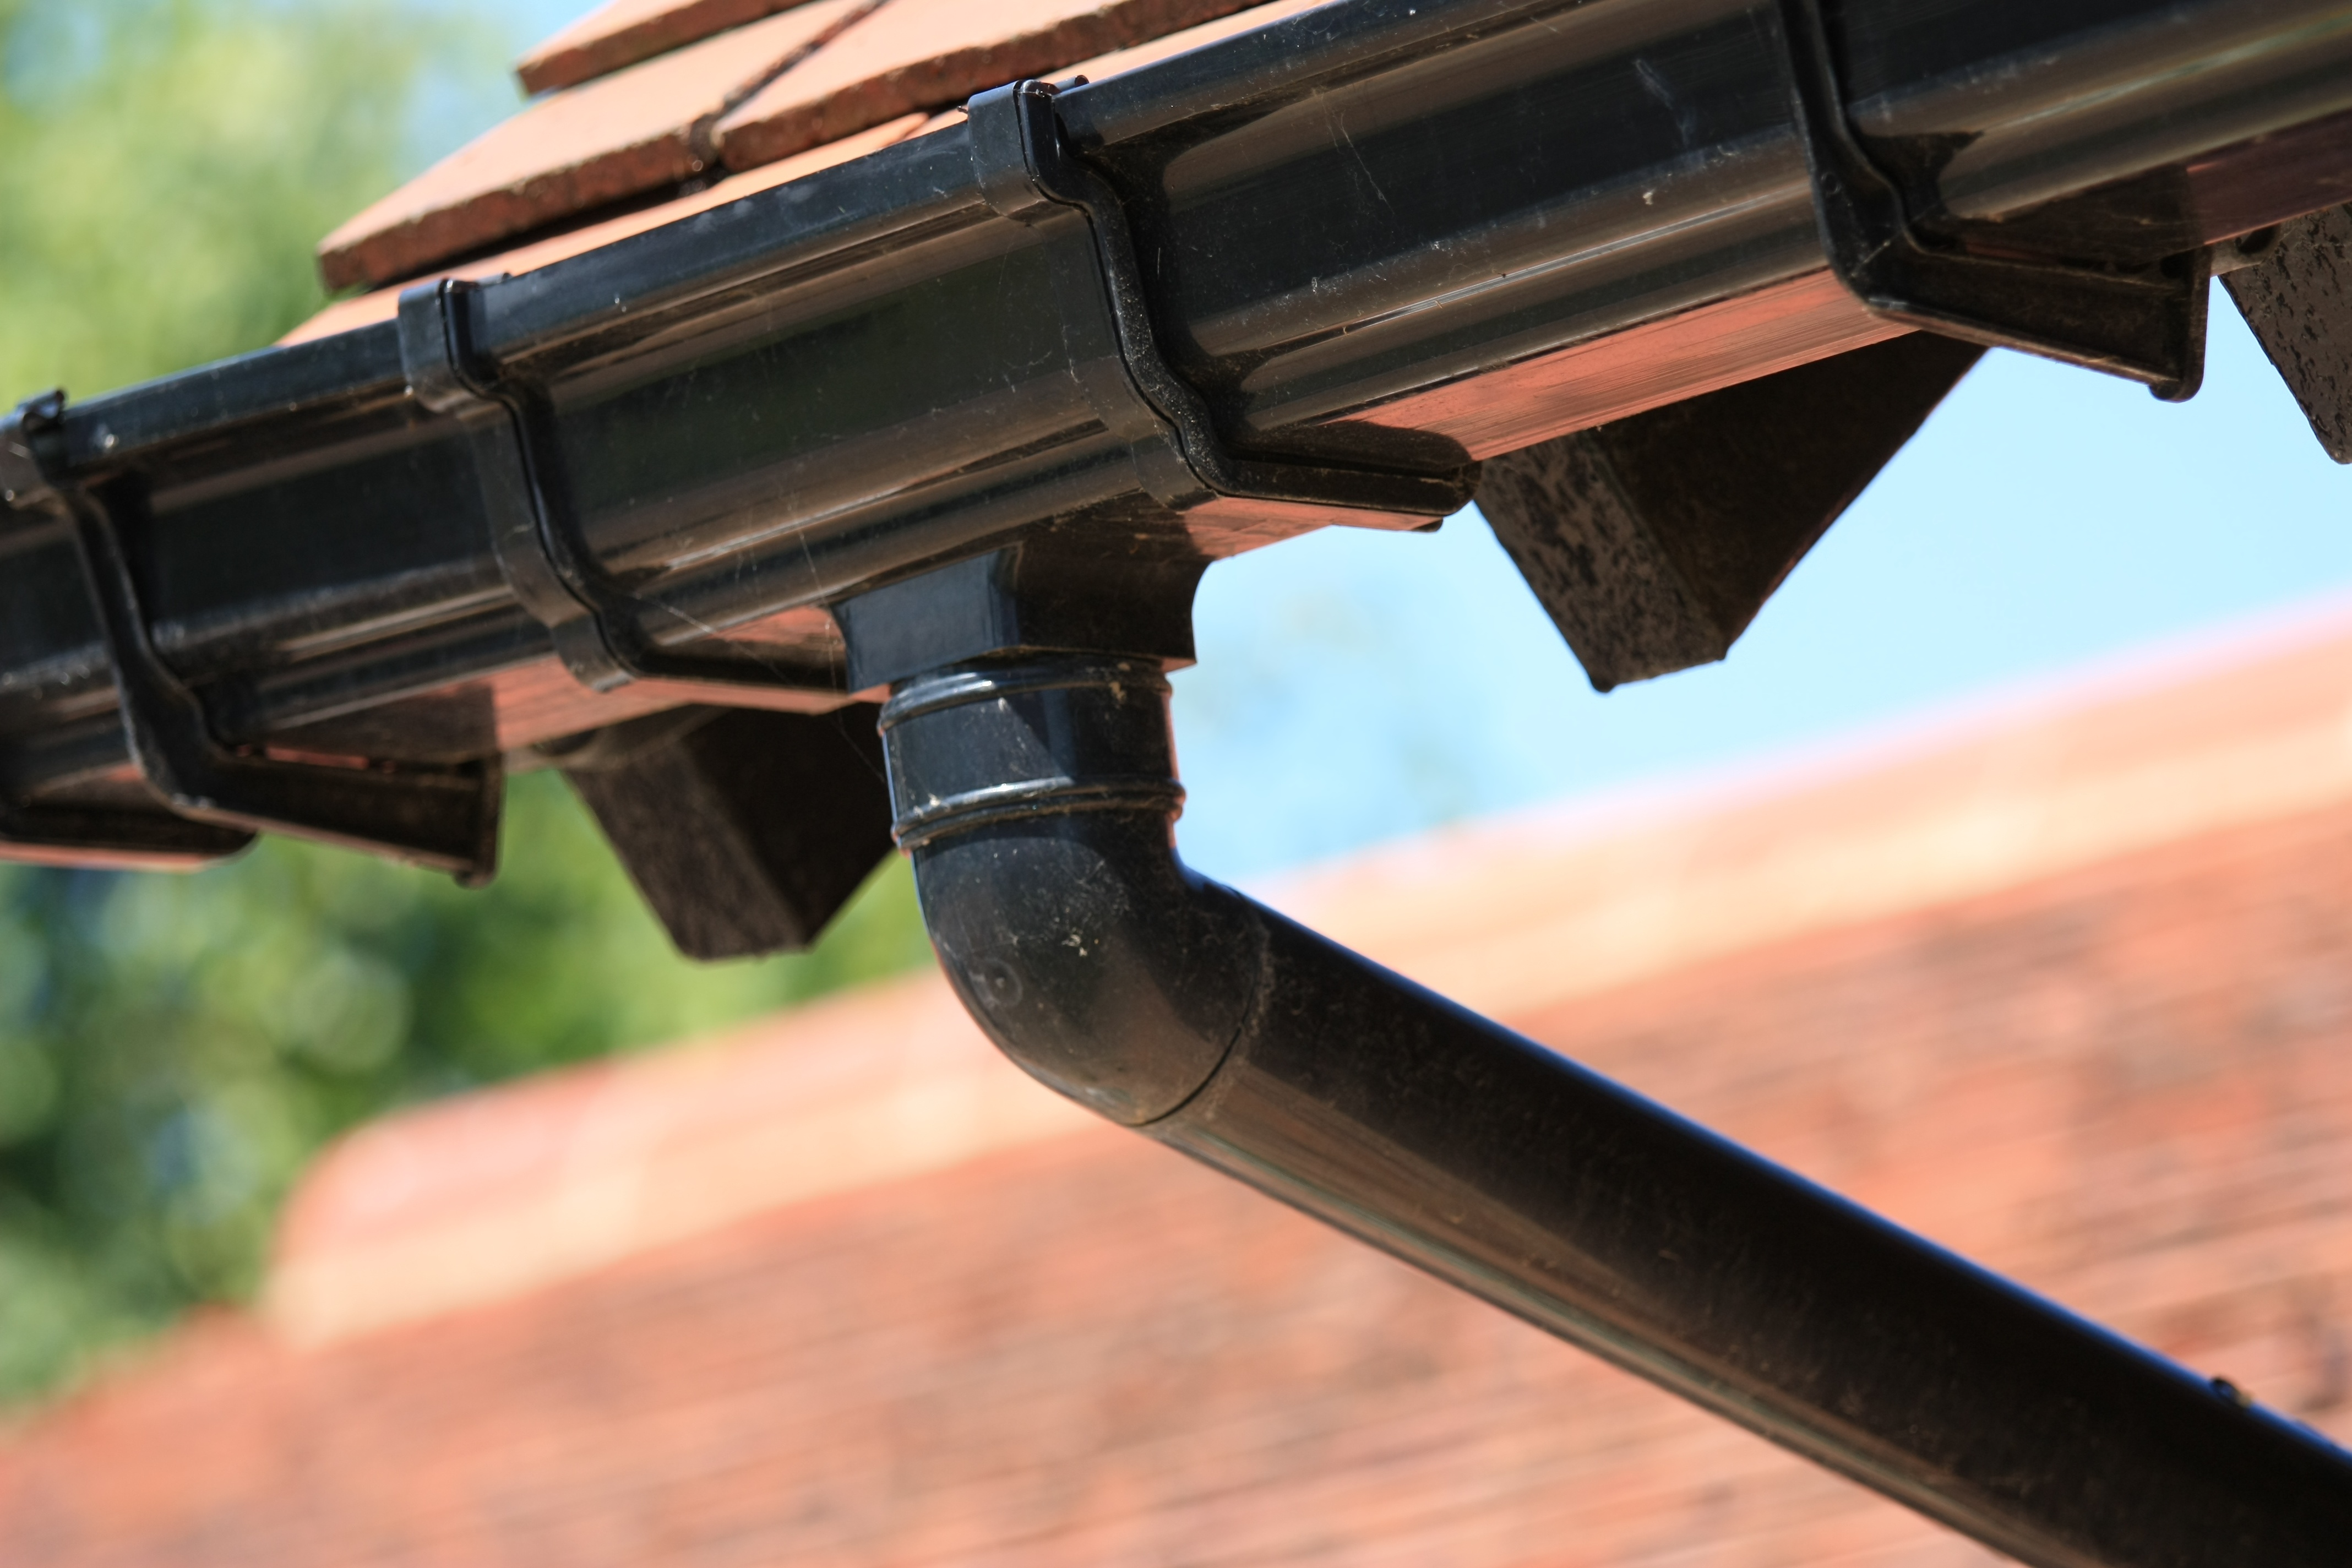 You should start fitting the guttering with the section which attaches to the downpipe (and which has the downpipe outlet), as the position of the downpipe cannot really move too much if it is to remain over the ground-level drain. All of the other sections of guttering can be adjusted to accommodate this first section easily.
Fit the first bracket near the top of the fascia board, no more than 50mm (5cm) below the level of the roof tiles. If your guttering uses a short, separate outlet section, rather than having an outlet at the end of a run, position this directly over the ground-level drain using a plumb line. Attach this to the fascia over the drain using two brackets or integrated fixing points.
Now fit a bracket at the opposite end of the run, trying to ensure that it is higher up the fascia than the bracket at the other end of the run (where the outlet is). This is to ensure that there is a fall over the length of the guttering towards the downpipe. To check, tie a string to the lowest point of the bracket, stretch it to the first bracket and tie it on. Using a spirit level, check there is a fall in the right direction. If not, move either one of the brackets up or down. You should aim for a fall of about 10mm every 6000mm (1cm every 6m).
You can now use the string as a guide to fit brackets all along the run, at intervals of no more than 1000mm (1m). Work out where any joints will occur and make sure that there is a bracket no more than 150mm away.
Step 3 – Fitting the Guttering
Starting with the section with the outlet, fit a stop-end if required and then clip the guttering into the first bracket. If you are struggling to get the gutter to clip in, try tilting it under the back clip first, and then straighten it up into the front clip. When this first section is firmly clipped into place, fit a union piece (joint between two sections of the gutter) and screw it into the fascia if possible.
Fit the next length of guttering into the union piece, and then continue to clip it into the brackets. Repeat this process until you reach the end of the run. Trim the last length of guttering to fit, attach a stop-end and do a final check to ensure all joints and brackets are secure. If you are intending to have the gutter turn the corner of the roof and continue along the next run, it is a good idea to leave extra length on the end, and then fit the corner piece after the adjoining run has been fitted.
Step 4 – Testing the Guttering
Before you pack away your tools, it is a good idea to test the gutter for leaks or ponding (where water gathers at low points). Fill a small bucket or a large bottle with water and pour it onto the roof above the gutter. This allows you to check that it is positioned correctly on the fascia. As the water runs along the gutter, watch carefully for leaks. When the water has drained away through the outlet, check along the length of the gutter for excessive ponding.
Hopefully, you will encounter no problems, but if you do, adjust the guttering accordingly. Ponding can often be countered by simply raising one or two brackets a few millimetres. Leaks may simply be a case of a section of guttering not being pushed firmly enough into a union piece.
Expert Guttering Tips
- Be aware that plastic and uPVC guttering will expand in hot weather and contract in cold weather. Always make sure that you take notice of the depth marks on the gutter fittings (joints, etc.,) as these are designed to allow for this movement.
- It is a good idea to add a bead of silicone lubricant to union pieces and stop-ends before pushing them onto the end of the guttering. This will not only make fitting the sections together easier, but will also help to improve the performance of the gutter.


