
Decking is a great addition to almost any garden, providing you with an attractive and useful seating area. With some decent weather, a deck can almost become an extra room for your house during the summer months. Decking is generally easier to install than paving and can be used to hide a variety of sins in the garden. It can be laid over an existing concrete patio without having to dig it up and, with a bit of regular care, can remain in good condition for many years.
Before installing a deck of any size, it is worth checking with your local planning officer. Most decks will not be a problem, but there could be some issues if the planned decking area would overlook your neighbours. Adding a deck may also not be allowed if you live in a listed building.
Normal building regulations will apply to any deck that is raised off of the floor level by more than 500mm, so you must ensure that any steps and the balustrade meets with requirements. As a guide, Balustrade and Newel Posts should be at least 1m in height (from the surface of the decking). You should place supporting newel posts at no more than 1.2m intervals along the length of the balustrade.
Materials You Need to Build Decking
Depending on the type of deck you are building, you may not need all of the materials listed here. Carefully plan out your deck and make a list of exactly what you need. This list should act as a guide and will hopefully help you to remember items you might have forgotten or overlooked.
Rails or Bearers – The timber used to create the supporting frame of the deck. Usually 100 x 47 or 150 x 47.
Decking Boards – These are the boards that make up the finished surface of the deck. Decking boards are usually smooth on one face and grooved on the other to give a better grip.
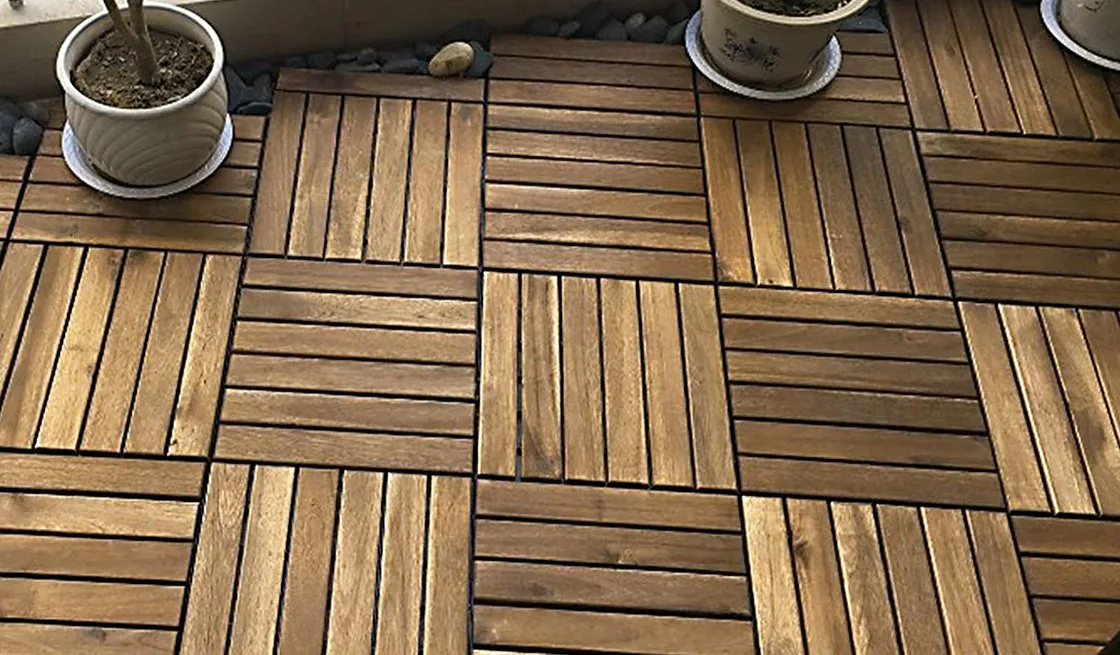
Deck Tiles – Instead of straight boards, you can also buy pre-made deck tiles. Deck tiles can make it easier to create interesting patterns in the deck.
Fascia Boards – Boards used to cover the cut ends of the rails or the frame.
Joist Hangers – Not always needed, but can make constructing the deck frame easier and stronger.
Bricks or Blocks – For use when building footings.
Concrete – Either ready-mix bags or the traditional sand, cement, and aggregate.
Gravel – Clearing turf beneath the deck and adding a layer of gravel can help to prevent weeds from growing up through the gaps in the deck.
Weed-Proof Membrane – Another way to prevent weeds from growing up through the gaps in the deck. Lay the membrane over the soil and cover it with a layer of gravel to protect it.
Calculate the Number of Decking Boards
The amount of decking boards you will need to buy depends on both the size of your proposed deck and the dimensions of the boards you plan to use. The first thing you need to do is work out the size of the deck in square metres.
To do this multiply the width by the length of the area the deck will cover. If the area is 4m long and 3m wide, the overall area will be 12sq m. Decking boards usually come in packs of five, and will usually display how much a single pack will cover. If a pack covers 1.5sq m, the example above would require 8 packs and result in very little waste.
Which Wood Should Be Used for Decking?
Rot is the main enemy of any external wood and decking materials are no different. The type of wood you choose depends on both your budget and the finish you desire. The most common type of wood used for decking is softwood, but it is possible to use more expensive hardwood, such as oak. Any wood you choose must be pressure treated to protect against rot, particularly softwoods.

There are several types of rot-resistant wood available for decking boards, including teak, red cedar, and oak. These woods will last better than softwoods but will certainly cost more to buy. Both rot-resistant boards and pressure-treated boards should also be painted with additional preservative paint (either tinted or clear) regularly.
Decking boards should be at least 2.5cm thick to help prevent the wood from twisting and warping over time. You can buy decking boards that are 5cm thick, but these will obviously cost more than thinner boards.
If creating a raised deck with posts sunk into the ground, it is a good idea to paint the part of the post that will be underground with a coat of preservative before you concrete it in. Make sure that you paint the cut end of the post as well as the sides.
Types of Decking Timber
Pine – One of the most common softwood decking materials available. Pine is easy to work with and cheap but does have a very visible grain.
Red Cedar – A very attractive softwood with a pleasant smell. Cedar is durable but does mark easily and is inclined to split.
Spruce – Another attractive straight-grained softwood. Spruce is generally only suitable for those parts of the deck which are above ground.
Larch – Not the most popular softwood decking material. Larch can be expensive and have lots of knots in the wood.
Teak – A very expensive, but beautiful mid-brown hardwood. Teak is extremely durable and hard-wearing.
Oak – Very durable and long-lasting, but also very expensive when compared to something like Pine or Cedar.
Opepe – A popular hardwood that is cheaper than most hardwood types, whilst still being durable and attractive. Might be harder to find than some of the other wood types here.
You can also buy Composite Decking boards. These are designed to look like ordinary wooden boards but are made of a combination of recycled timber and PVC. Composite decking is easy to fit due to the special fixing clips provided and can last for many years with little or no maintenance.
Other options include the durable but expensive Thermodeck (heat-treated Scandinavian softwood, designed to last up to 15 years) and products such as Grassdeck. Grassdeck is a composite material topped with a layer of green grass-like material.
Decking Boards or Decking Tiles?
The choice between using decking boards or pre-made decking tiles will depend a lot on the shape of your required deck and also on your DIY abilities. Decking boards generally allow for a more professional-looking finish and can be easier to use if your deck is not exactly square. Boards should ideally be 25mm or more thick to help avoid the problem of warping and twisting. Thicker boards may still display some movement, but it should be far less apparent.
Decking tiles, pre-made squares of decking board up to 1 metre square, can be easier and quicker to use but could work out more expensive than using standard boards. By alternating the direction in which the boards are laid, you can create interesting and attractive patterns without having to make hundreds of cuts.
Preparing the Site for Decking
If you are building your deck over grass or soil, you will need to prepare the ground before you start. If you are creating a raised deck, some of these steps will not be as important. It is, however, still a good idea to prepare the ground beneath the deck area so that weeds cannot grow up through the planking.
1. Using a tape measure and a handful of wooden pegs or stakes, mark out the area of the deck on the ground. Use the pegs to show where any and all corners will be, and then tie the string between the pegs to give you a guide for digging out the area. If you are planning a perfectly square or rectangular deck, make sure you measure across the diagonals to ensure the corners are square.
2. If building your deck over a lawn, use a straight-edged spade to cut through the turf layer and then divide the area into strips. Roll up the strips of turf and move them to one side. If you are building over an area of rough soil, remove any large stones and flatten the area using an old plank or similar. If you are building a ground-level deck, this stage is much more important and the area should be levelled accurately and checked using a spirit level laid on top of a plank.
3. If the area is well drained and does not suffer from being too damp, all you need to do now is lay down a sheet of a weed-proof membrane (cut to be very slightly larger than the cleared area) and then cover this with a 40-50mm layer of gravel. If the area is not well drained, of if you simply want to give the timber deck frame something a bit more solid to sit on, place paving slabs at all of the corners and at intervals along the middle of the deck area. These can sit on top of the gravel base and will act as basic foundations for the frame.
Building Decking Foundations
As with any Diy job, preparation is the key to building a stable and long-lasting deck. With a raised deck, good foundations will be essential to creating a good finish. As a general rule of thumb, the higher a deck stands off the ground, the deeper the foundations need to be. All decking materials should ideally be pressure treated to avoid rot. But at the very least, make sure that the posts that will hold up your deck are treated.
Raised Deck Foundations
If you are building your deck over soil, post holes should be at least 400mm deep. In disturbed soil, this should be increased to at least 600mm deep. The number of foundation posts you use depends on the size of the deck, but it is always better to have too many than too few.
If possible, create a grid of supporting posts at around 1m intervals over the whole area of the deck. If you are building the deck wholly or partially above solid concrete or firm slabs, you can use post sockets bolted to the floor. Whichever method you choose, make sure that the foundation posts are completely solid before you start to build on top of them.
Ground-Level Deck Foundations
If you are building your deck on a nice flat surface, you might not need to raise it at all. You will, however, still need to lay down some footings for the deck frame to sit on. These footings can be as simple as a concrete block bedded into sand, cement, or even gravel.
To make solid and level footings, strip back the turf or top level of soil and pack some sand or hardcore (40-50mm deep) into the hole. Lay your slab or block onto this sub-base and make sure it is sitting level.
Building a Deck
Now that the timber has been chosen and the site prepared, you can start to build your deck. Whether you choose to build a Raised Deck or a Ground-Level Deck depends on skill, budget, and location.
You can find our complete guide to building a Ground-Level Deck here.


