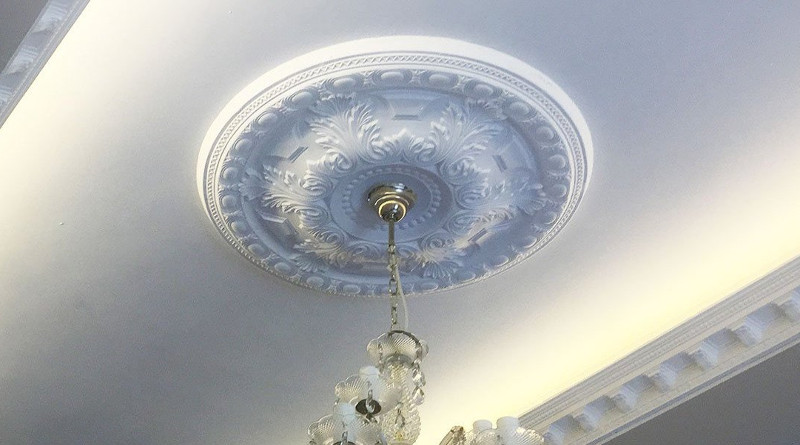
A guide to fitting a ceiling rose. A plaster ceiling rose makes a nice feature in a period property, and the more modern styled ones can even work well in a new property. You can buy plaster ceiling roses fairly cheaply in a variety of styles. In most cases plaster ceiling roses will need a hole drilled through middle to take the lighting cable. Do this carefully, and make sure you use a drill bit which is the same diameter as the cable that will run through the hole.
As with any work around electrical cables, the first thing you need to do is to turn off the power at the mains. Remove the light fitting and, if there is one, the existing ceiling rose, so you are left with a plain wire hanging down. If there is no existing ceiling rose in place, and the ceiling is very smooth, it is a good idea to lightly sand the area where the new rose will be attached. This will create a better surface for the plaster adhesive.
Hold the new ceiling rose in place, and draw around it lightly with a pencil (get someone to help with this if needed). You now know where the plaster adhesive needs to be applied.
If you are fitting a larger ceiling rose, it is a good idea to drill a couple of screw holes through the rose so you can screw it to the joists above. The holes can then be filled with filler of a matching colour once the adhesive has set. Some larger ceiling roses even come with screw holes already drilled. You will need to know where the ceiling joists are for this, so use an electronic stud finder to locate them. Mark their position on the ceiling, hold the rose in place and mark where the supporting holes need to be drilled. The holes should be countersunk slightly to hide the head of the screws.
Small ceiling roses can be attached to the ceiling with a standard plaster adhesive. The suction created should be enough to hold the rose to the ceiling whilst the adhesive sets. Use a small adhesive spreader to coat the back of the ceiling rose with plaster adhesive, keeping it about 1cm from the edge to avoid it spilling out.
Thread the rose on to the lighting cable in the ceiling, line up the supporting holes with the joist marks (if you have them), and then press it firmly into place. You will need to hold it in place for several minutes (consult the plaster adhesive packaging for exact timings), so make sure that you have a stable ladder or platform to stand on.
You can then place wood screws into the supporting holes you drilled, and screw into the joists. The holes should be countersunk and the screw heads should sit below the surface. Be carefully not to tighten the screws so much that they crack the plaster rose.
Wipe away any excess plaster adhesive away from around the edge of the ceiling rose with a damp cloth or sponge. Be careful not to use a coloured cloth or the colour may transfer on to the plaster of the ceiling rose.
Once the adhesive is completely dried, you can re-wire the light fitting.


